


Custom shape die cut stickers and transfer lettering.

Transform walls with vibrant, custom shape and transfer graphics.

Elevate windows with stunning custom graphics for your storefront.
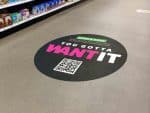
Revamp floors with eye-catching, personalized vinyl stickers.

Brand your fleet with striking, custom vinyl sticker designs.
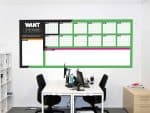
Full color vinyl prints or whiteboards suited for your business needs.

Create attention-grabbing signage with your graphic designs.
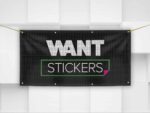
Capture attention with dynamic banners for any occasion.