


Why Resurface Instead of Replace?
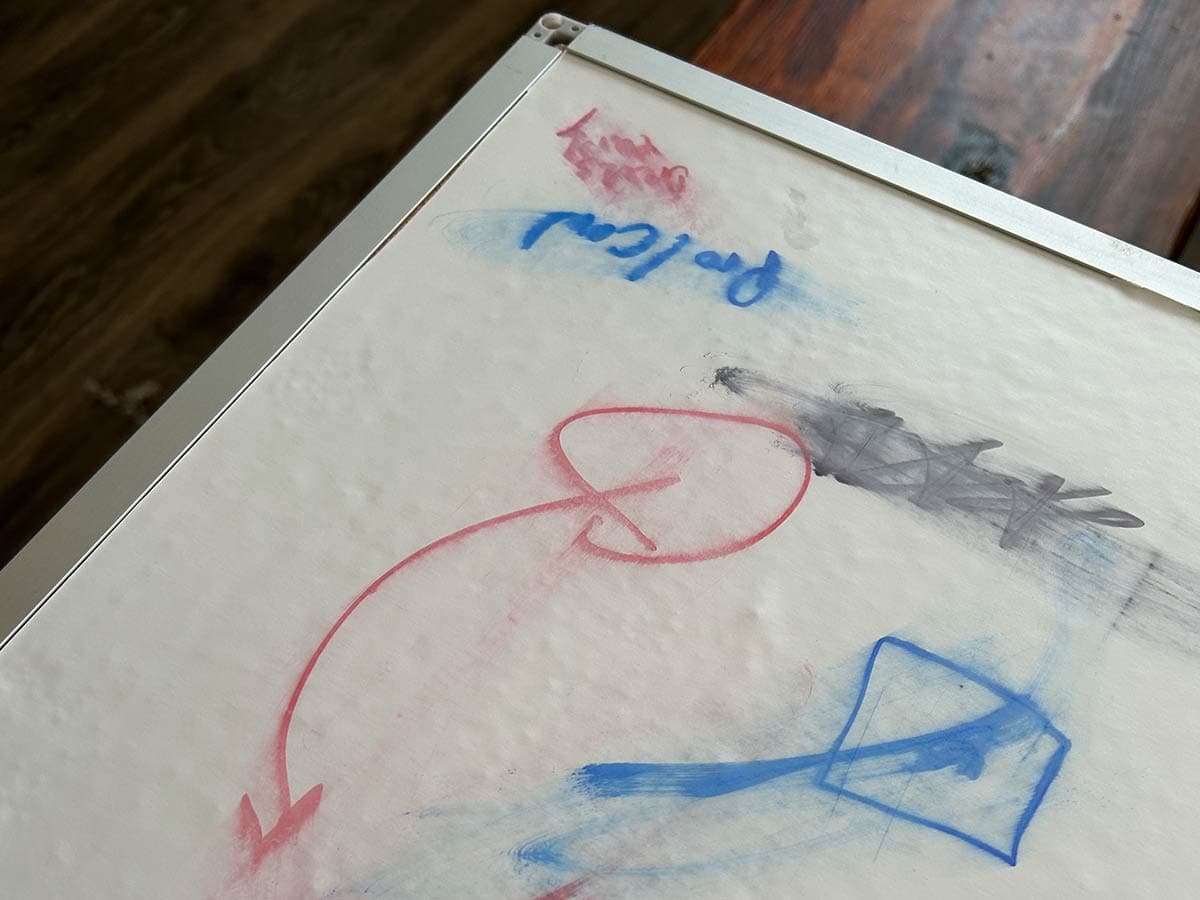
Dry erase boards can be expensive, especially for large sizes. Over time, they develop ghosting, scratches, and discoloration that make writing and erasing difficult. Resurfacing with vinyl is a cost-effective and simple solution that:
- Restores your board to a smooth, writable surface.
- Eliminates stains, scratches, and worn-out sections.
- Allows for custom graphics, such as grids, logos, or planners.
- Provides the option of removable or permanent adhesive for different needs.
Choosing the Right Vinyl: Removable vs. Permanent Adhesives
We offer two adhesive options to match your needs. Options can be selected on the product pages.
- Removable Adhesive – Ideal for temporary or changeable setups. It applies securely but can be removed without leaving residue, making it great for leased office spaces or evolving layouts.
- Permanent Adhesive – Designed for a long-lasting solution. It bonds securely to your existing board, ensuring durability and smooth writing for years to come.
Measuring and Ordering the Right Size
Before ordering your vinyl dry erase covering, it’s essential to measure your board correctly. Here’s how:
Measure the writable area – If your dry erase board has a frame, only measure the usable space inside the borders.
Order based on exact dimensions – To ensure full coverage, provide precise measurements when ordering your vinyl overlay.
Consider a slightly smaller cut – If applying inside a recessed area, subtract about 1/16” from each dimension for easy installation.
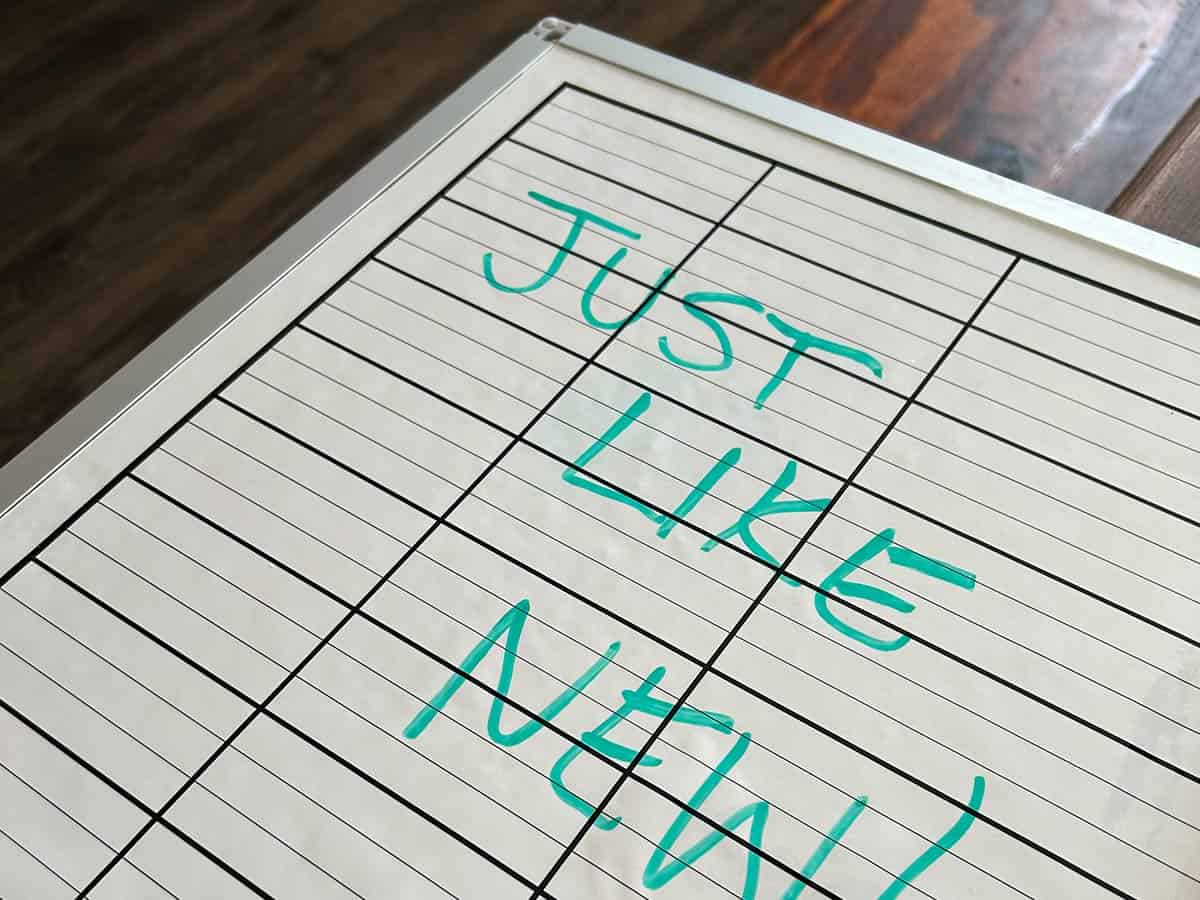
Design Options: Plain White or Custom Graphics
You have two style options for resurfacing your board. Plain whiteboard or upload your own graphic designs for a full color custom print!
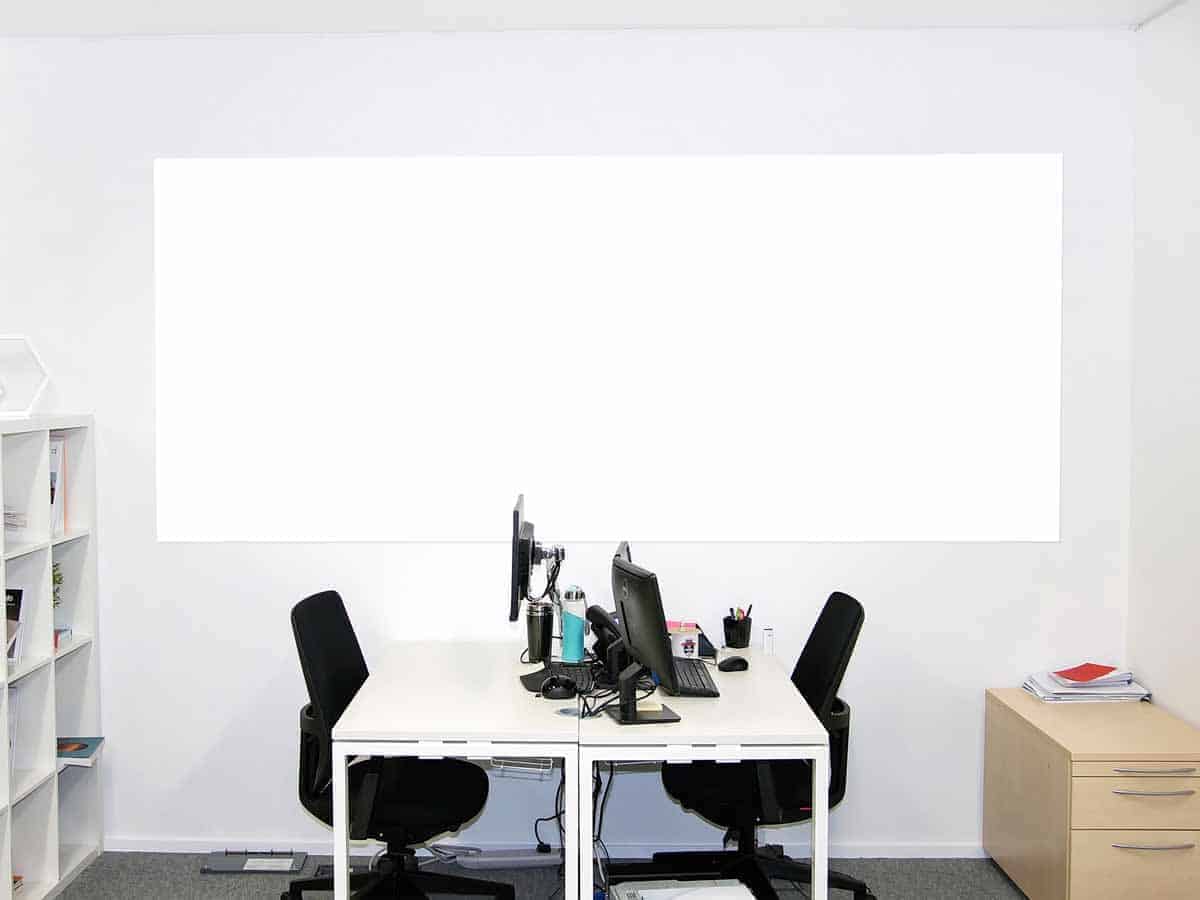
Plain Whiteboard Vinyl
A simple, clean, glossy white surface that functions like a brand-new dry erase board.
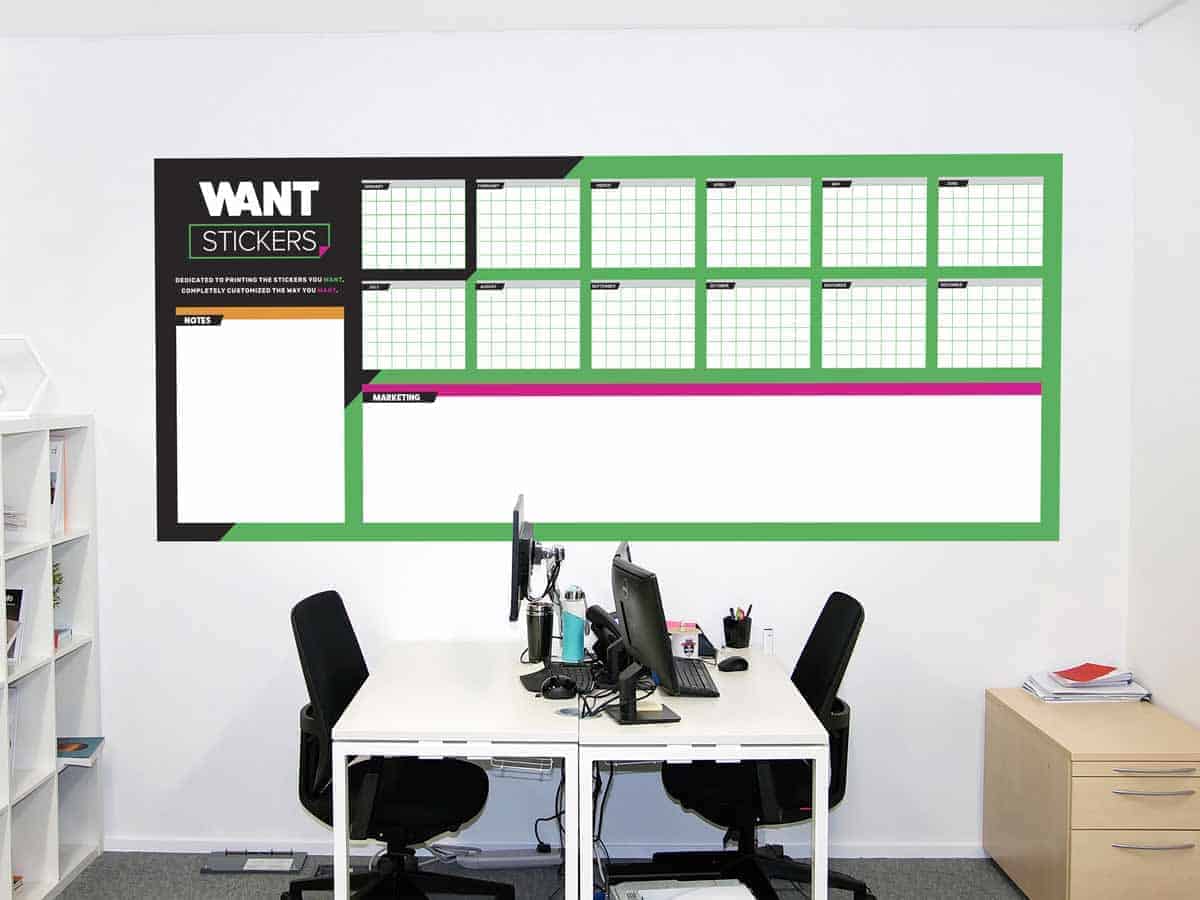
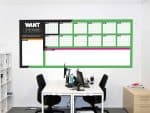
Custom Printed Dry Erase Vinyl
Upload your design for a fully customized look. Popular options include calendars, project planners, music staff lines, and branded layouts.
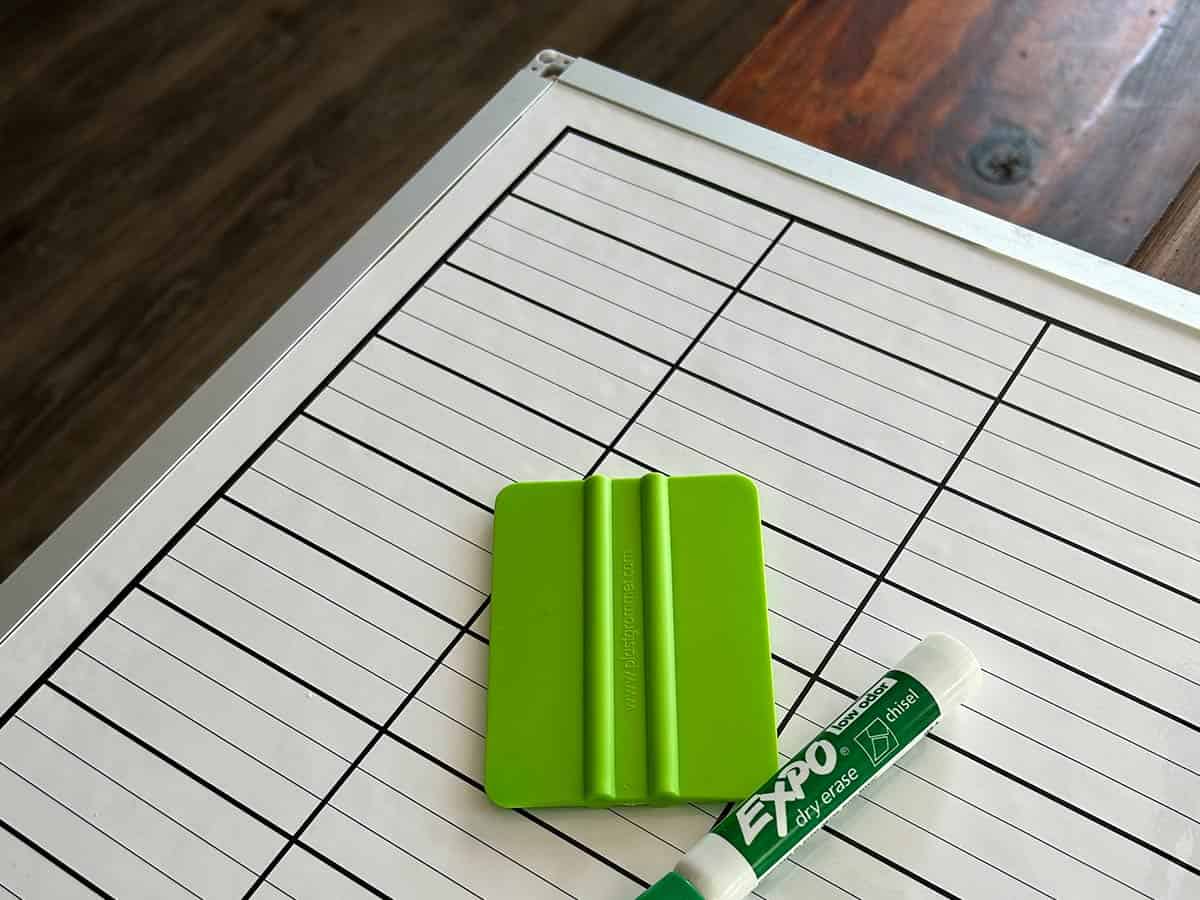
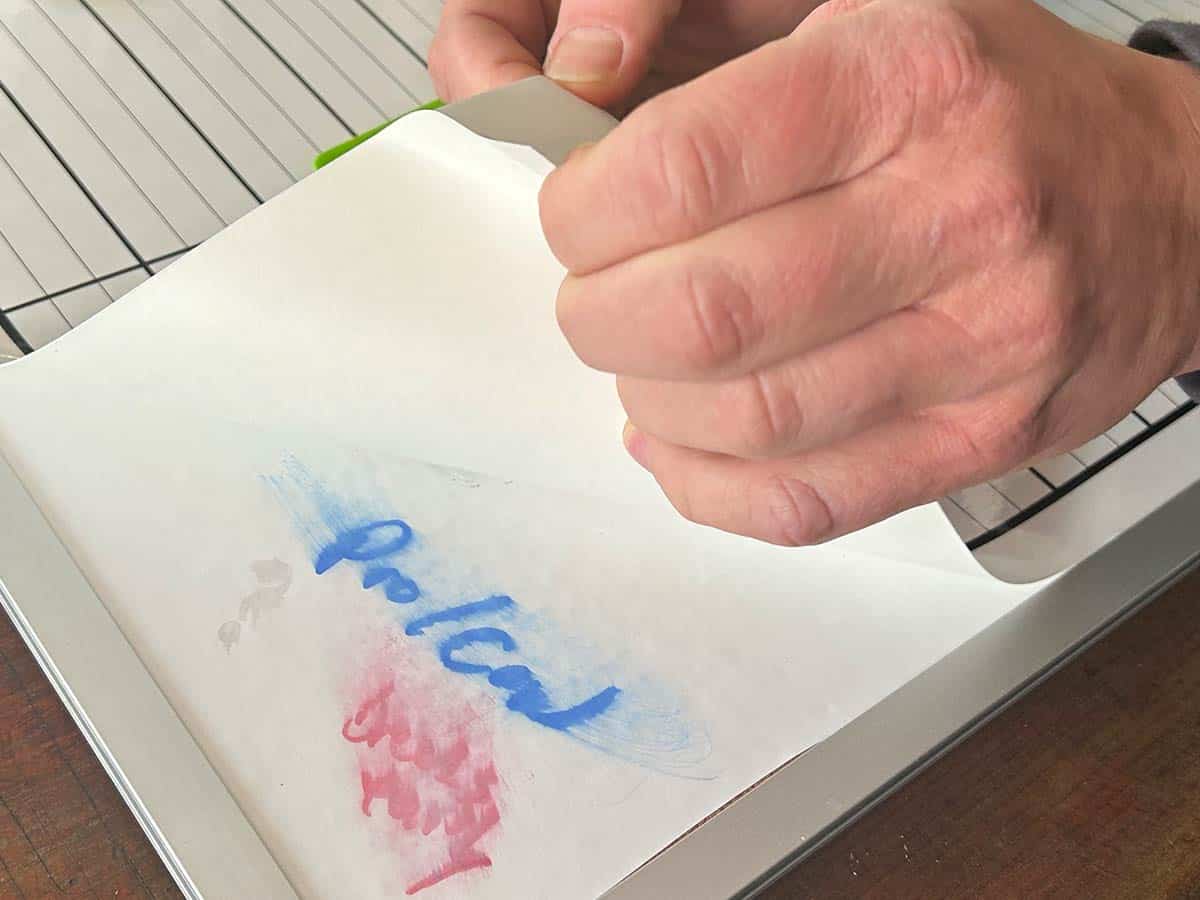
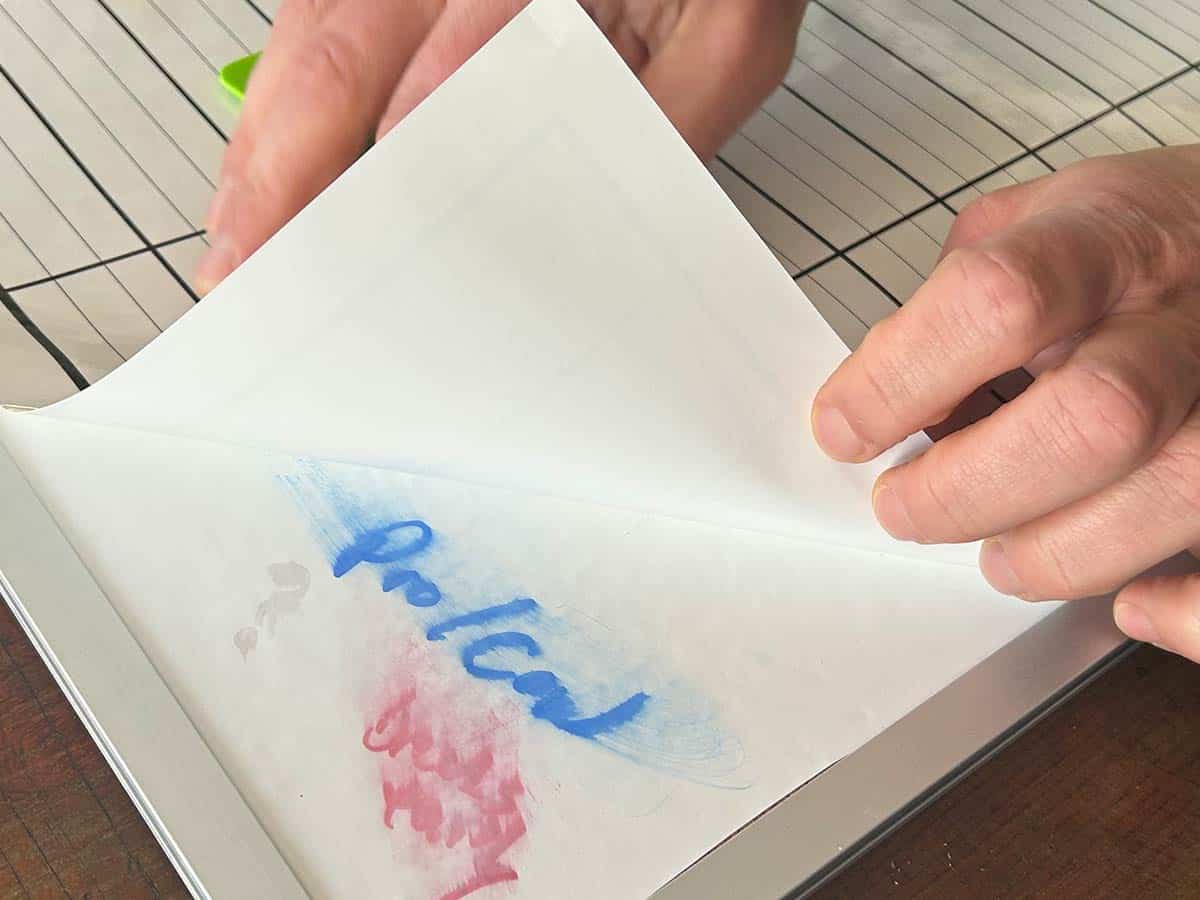
Installation: How to Apply Vinyl Over Your Old Board
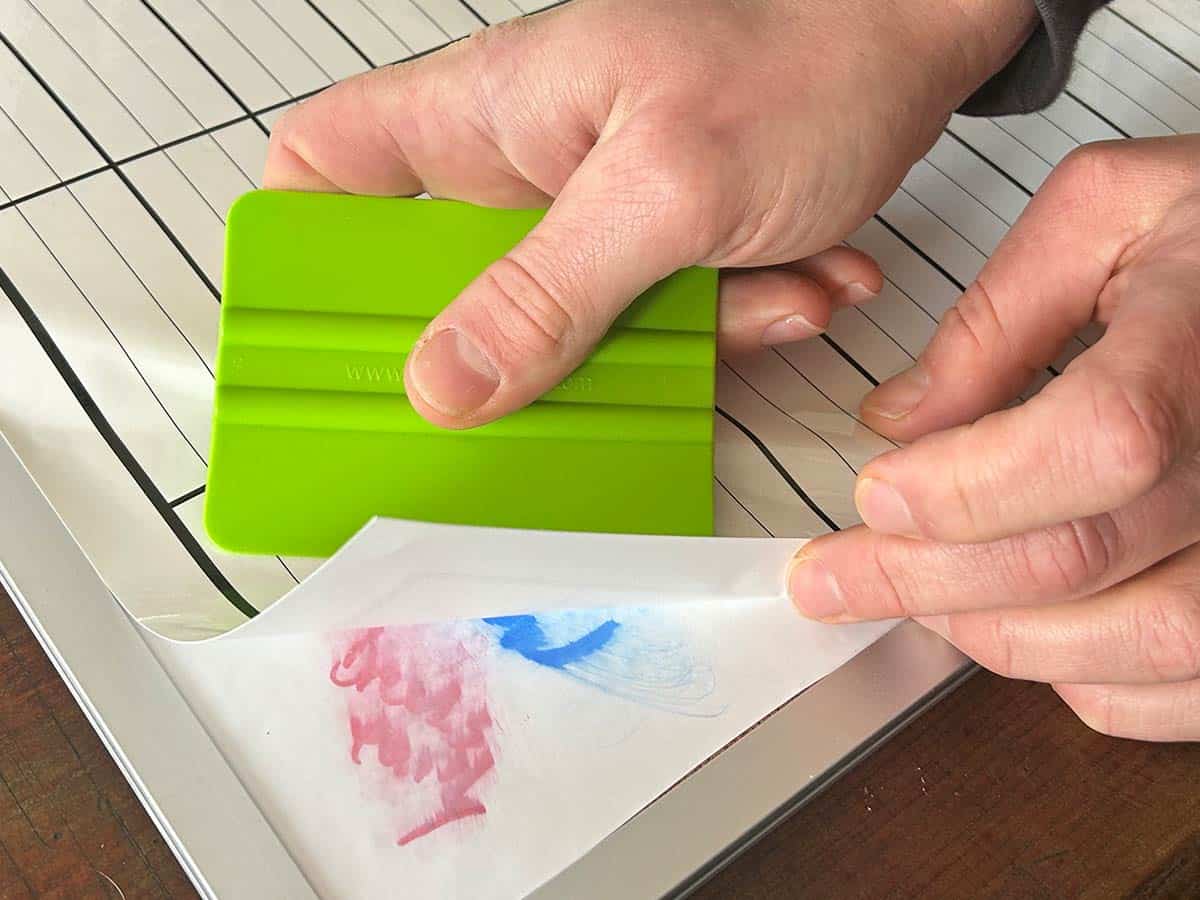
Applying your new dry erase vinyl is simple with these steps:
- Clean the Surface – Wipe down the board with an alcohol-based cleaner to remove residue. Let it dry completely.
- Peel and Align – Remove a small section of the vinyl backing and position it carefully. Start at one edge and press it into place.
- Apply Smoothly – Use a squeegee or a soft cloth to press out air bubbles as you peel away the backing and adhere the vinyl.
- Trim if Necessary – If your board has a frame, use a sharp blade to trim any excess material for a precise fit.
- Test the Surface – Write with dry erase markers and confirm smooth erasability before regular use.
Helpful Links
Order Your Dry Erase Vinyl Overlay Today
Ready to give your old board a fresh new surface? Order your vinyl today and choose between removable or permanent adhesives to fit your needs. Whether you prefer a blank white writing space or a fully customized design, resurfacing with vinyl is an easy and affordable solution.


